Mastering the Art of Timelapse Photography: A Comprehensive Guide

In the realm of visual storytelling, few techniques match the captivating allure of timelapse photography. Whether you are a professional photographer or an aspiring hobbyist, this guide will equip you with the necessary knowledge to make a timelapse with photos that not only captivates your audience but also elevates your artistic expression.
Understanding Timelapse Photography
Timelapse photography involves capturing a sequence of frames at set intervals to record changes that take place slowly over time. When played at normal speed, time appears to be moving faster. Here’s why this technique is gaining popularity:
- Breathtaking Visual Narrative: Timelapses condense hours, days, or even months into a few moments, offering viewers an incredible perspective.
- Dynamic Content: In an era where video content reigns supreme, timelapse videos can stand out due to their unique presentation.
- Versatile Usage: From nature scenes to cityscapes and events, timelapses have a vast range of applications in different fields, including real estate photography.
Essential Equipment for Timelapse Photography
To effectively make a timelapse with photos, having the right equipment is crucial. Here’s a breakdown of what you’ll need:
- Camera: A DSLR or mirrorless camera is recommended for their superior image quality and manual controls.
- Tripod: Stability is key. A sturdy tripod will prevent camera shake and ensure a smooth capture.
- Intervalometer: This device allows you to set specific time intervals for capturing each frame automatically.
- Wireless Remote Shutter: To prevent any vibrations during shooting, especially for long exposures.
- Editing Software: Post-processing tools like Adobe Premiere Pro or Final Cut Pro are essential for compiling your images into a video format.
Choosing the Right Subject for Your Timelapse
Not every subject is ideal for a timelapse. Here are some pointers for selecting enticing subjects:
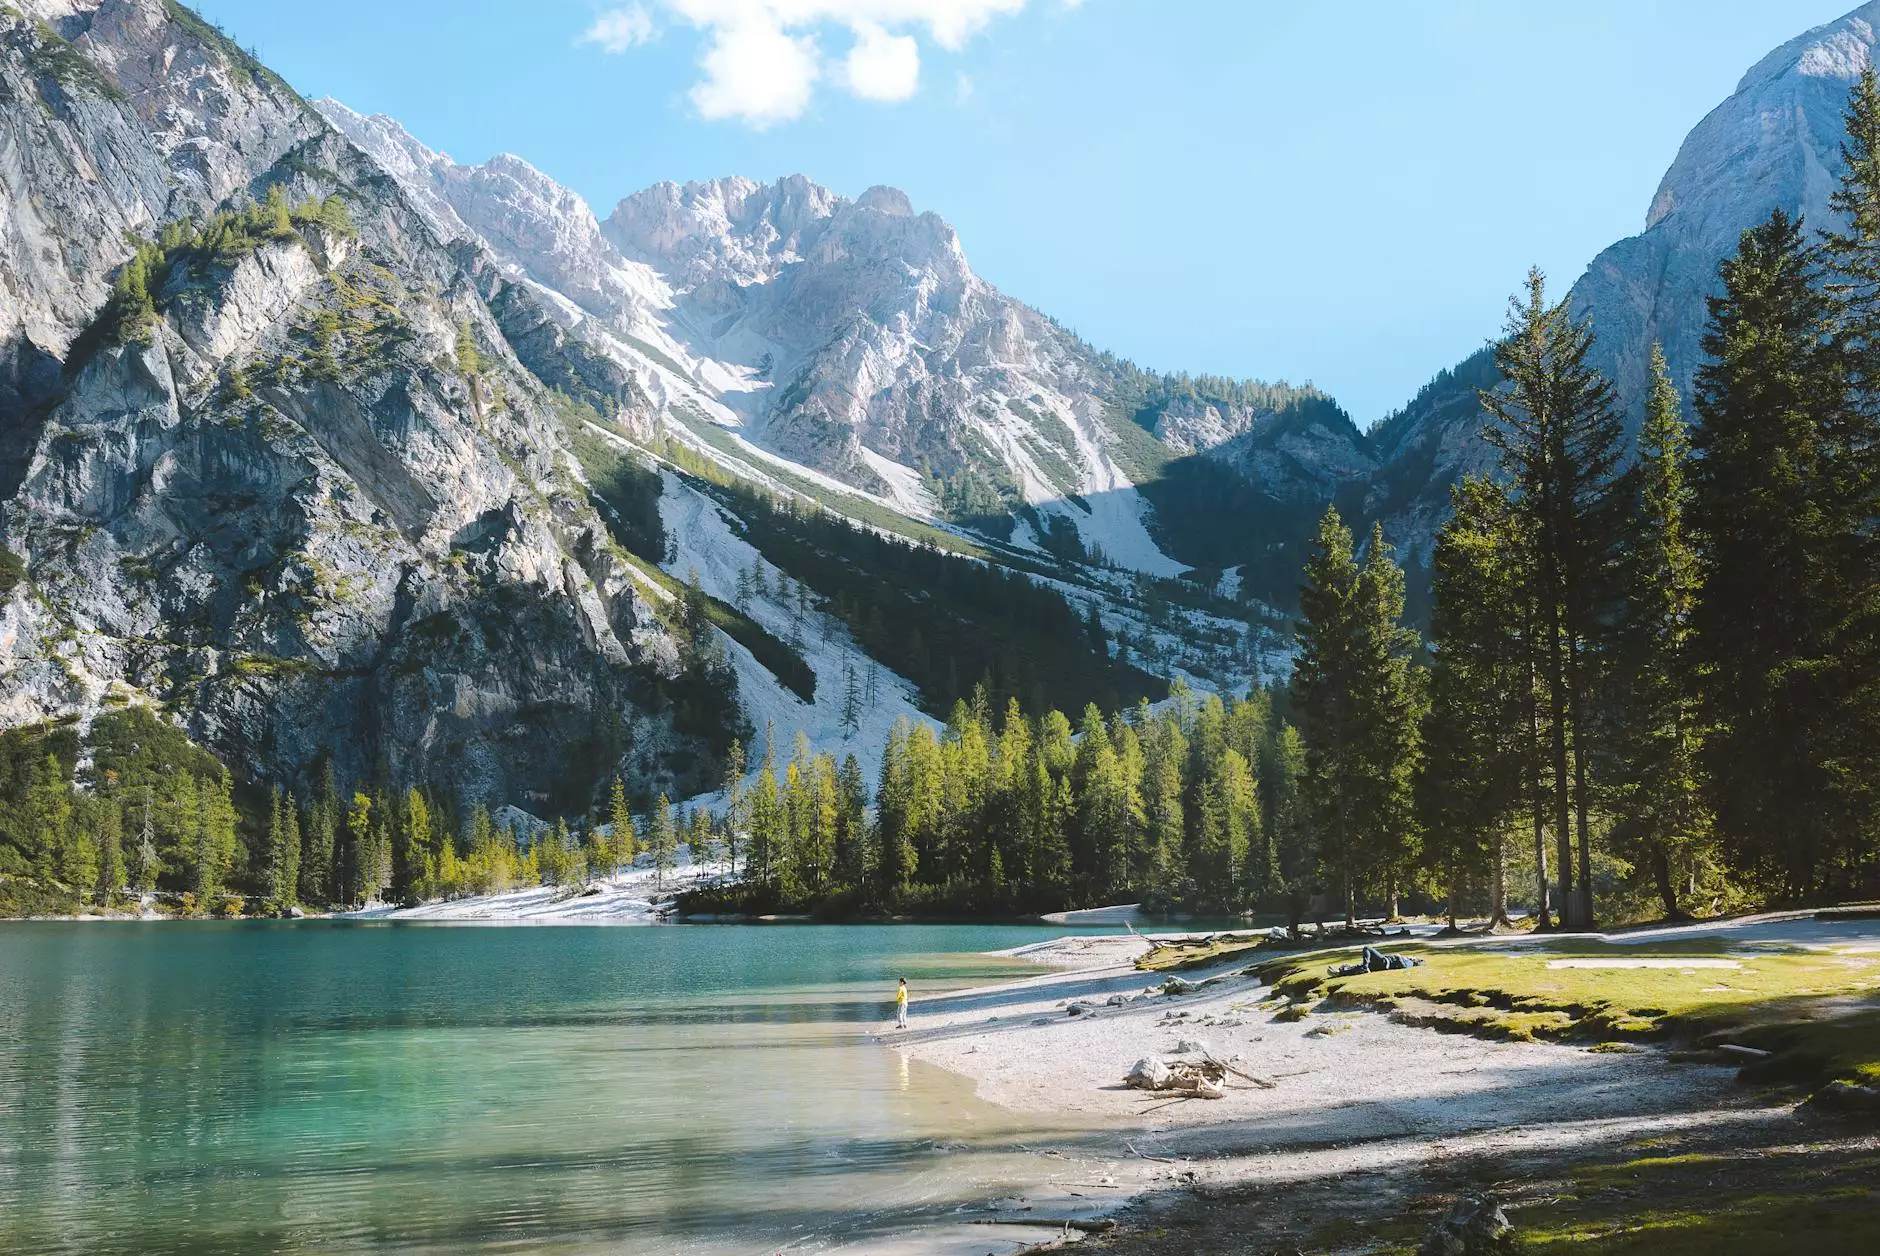
- Nature & Landscapes: Dramatic weather changes, blooming flowers, or the movement of clouds can create stunning visuals.
- Urban Life: Capture the hustle and bustle of city life, showcasing the transition from day to night.
- Construction Projects: Documenting a building’s evolution can be a fantastic way to showcase progress over time, particularly in the real estate sector.
- Artistic Projects: Focus on the creation of artwork or crafts to tell a compelling story of artistic endeavor.
Planning Your Timelapse Shoot
Before heading out, careful planning is necessary to ensure the best results. Consider the following factors:
- Duration: Decide how long you want to shoot and how much time you want to compress in your final video.
- Framing: Compose your shot thoughtfully. The rule of thirds can result in more aesthetically pleasing images.
- Lighting: Be aware of how natural light changes throughout the day and plan your shoot according to the golden hour, when the lighting is most flattering.
- Location Permits: Ensure you have the necessary permissions to shoot at your chosen locations, especially in commercial settings.
Technical Settings for Timelapse Photography
Getting your camera settings right is the backbone of successful timelapse photography. Here’s a guide:
Camera Settings
- Manual Mode: Use manual settings to maintain consistent exposure throughout the shoot.
- ISO: Keep the ISO low to minimize noise. A good range is usually between 100-400, depending on light conditions.
- Aperture: Selecting a mid-range aperture like f/8 will ensure your images are sharp and well-focused.
- Shutter Speed: Use a faster shutter speed to freeze motion and prevent blurriness, especially in daylight.
Interval Timing
- Interval Setting: The timing of your intervals is crucial. A common interval for cloud movement can be every 5-10 seconds, while a construction project might need a longer interval of 1-15 minutes.
- Frame Count: Determine how many frames you need based on the final video length you desire. Generally, 24 frames per second is optimal for smooth playback.
Editing Your Timelapse
Once you’ve captured your images, it’s time to bring them together to create your video. Here’s a step-by-step guide:
- Import Your Images: Load your images into your chosen video editing software.
- Set Frame Duration: Change the duration each image displays to achieve the desired speed. Typically, setting 0.1 to 0.5 seconds per frame works well.
- Add Soundtrack: Background music can enhance the viewing experience, so choose a soundtrack that complements your visuals.
- Exporting: Export your video in a suitable format. MP4 is widely recommended for its versatility and quality.
Showcasing Your Timelapse Work
After putting the effort into creating your timelapse, it’s essential to showcase your work effectively. Here are some strategies:
- Social Media Platforms: Sharing your timelapse on platforms like Instagram, YouTube, or TikTok can garner significant attention and engagement.
- Your Website: Creating a dedicated portfolio section for your timelapse work can attract potential clients, particularly in real estate photography.
- Engage with Communities: Join photography communities where you can share your work and receive feedback, such as 500px or photography forums.
- Local Exhibitions: Consider displaying your timelapse work in local art galleries or exhibitions to reach a wider audience.
The Role of Professional Services
If you prefer to focus on other aspects of your business, consider engaging with a professional service for timelapse photography. At bonomotion.com, we offer comprehensive photography services, including specialized real estate timelapse solutions. Here’s why working with experts can benefit your projects:
- Expertise: Professionals possess the technical skills and creative vision needed to produce stunning timelapse videos.
- High-Quality Equipment: They often have access to top-tier equipment that can significantly enhance the quality of the final product.
- Efficient Workflow: Professionals manage the entire process, from capturing images to editing, allowing you to focus on other tasks.
Conclusion: Capturing The Passage of Time
Timelapse photography is a fascinating way to tell stories and document change over time, whether it’s showcasing urban development or the beauty of nature. By following the steps outlined above, you can confidently make a timelapse with photos that not only engages your audience but also enhances your skill set as a photographer. Remember, practice is essential. Experiment with different subjects, intervals, and editing styles to develop your unique voice in this captivating art form. Embrace the journey of timelapse photography and let your creativity shine.